Overview
In this guide, we provide walkthroughs for creating the following sample surveys in Qualtrics:
- Setting up an event RSVP form
- Setting up an anonymous voting survey
For more detailed guidance on using Qualtrics for survey creation, see our guide:
Creating an event RSVP form in Qualtrics
The steps below walk you through setting up an event RSVP form with the following settings:
- Anyone (with or without a USC account) may fill out the survey
- Respondent names and email addresses are collected, so responses are not anonymous
Quick guide
- Go to https://usc.qualtrics.com.
- If you are prompted for your credentials:
- The Shibboleth page appears. Sign in using your USC NetID and passphrase.
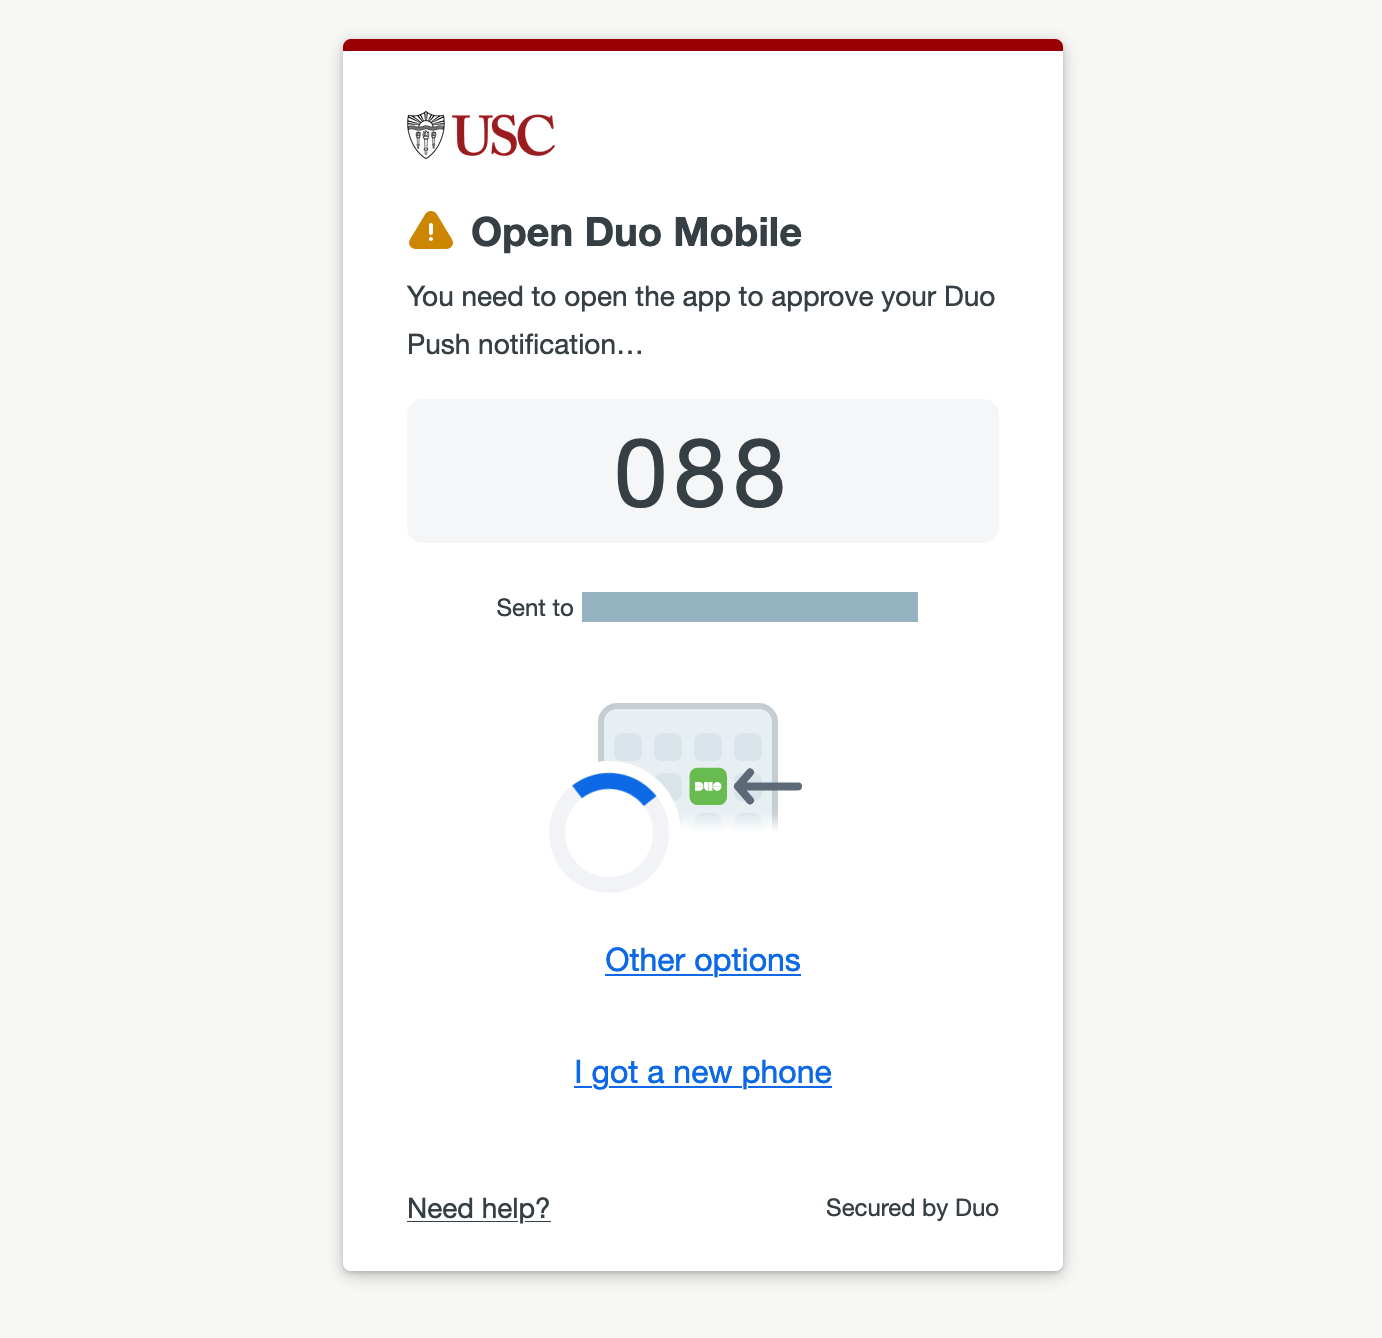
- The Duo page appears. Complete the verification.
- Click Create a new project in the lower left.
- Click Survey.
- Click Get started.
- Name the survey and click Create project.
- Add questions and answer choices to your survey. For example:
- For the respondent name, add a Text Entry question. Under Response Requirements, select Add requirements > Force response.
- For the respondent email address, add a Text Entry question. Under Response Requirements:
- Select Add requirements > Force response.
- Select Add validation > Content type > Email address.
- Continue adding questions and answer choices until you're done.
- Copy and send the survey link:
- In the upper right, click Publish.
- Click Publish.
- Click Copy link. You can now send this link by pasting it into an Outlook email or another distribution method, such as on a website or in an Emma newsletter.
Detailed guide (with screenshots)
- Go to https://usc.qualtrics.com.
- If you are prompted for your credentials:
- The Shibboleth page appears. Sign in using your USC NetID and passphrase.

- The Duo page appears. Complete the verification
- Click Create a new project in the lower left.

- Click Survey.

- Click Get started.

- Name the survey and click Create project.
- Add questions and answer choices to your survey. For example:
- For the respondent name, add a Text Entry question. Under Response Requirements, select Add requirements > Force response.

- For the respondent email address, add a Text Entry question. Under Response Requirements:
- Select Add requirements > Force response.
- Select Add validation > Content type > Email address.

- Continue adding questions and answer choices until you're done.
- Copy and send the survey link:
- In the upper right, click Publish.

- Click Publish.

- Click Copy link. You can now send this link by pasting it into an Outlook email or another distribution method, such as on a website or in an Emma newsletter.

Creating an anonymous voting survey in Qualtrics
The steps below walk you through setting up an anonymous voting survey with the following settings:
- Respondents must log into their USC account in order to access the survey
- Each USC account may only fill out and submit the survey once
- Account information is not recorded, so responses are anonymous
Step 3: Upload the respondents' email addresses as a CSV file
Quick guide
- Prepare your list as an Excel file in the CSV format.
- Click the Menu
 icon in the upper left, and select Directories.
- In the left menu, select Lists.
- Click Create a list.
- Name your list. You can optionally select the checkbox Make data in this list private. Then, click Confirm.
- Click Upload a file.
- Click Select a file, and upload the file from your computer.
- Click Next.
- Review the import fields. If everything looks correct, click Upload the file.
- Qualtrics imports the information from the CSV file into the contact list.
Step 4: Send the survey as a Qualtrics email
Quick guide
- Click the Distributions tab.
- In the left menu, click Emails.
- Click Compose Email.
- Prepare the email by filling in all the fields.
-
To: Click Select Contacts. Select the contact list you created earlier.
-
When: You can set the email to send immediately or set a delay in the span of hours or days.
-
Message: Compose the message directly in this field, or click Load Message to select a saved message from the library. To save a message for future use, click Save As.
-
Show Advanced Options: This option allows you to set an expiration date for the survey link. By default, Link Type is set to Individual, which means that each respondent receives a unique URL to the survey.
- Once the email is ready:
-
Send Preview Email: Send yourself a preview email.
-
Send in [x] hours / days: Schedule the email.
Detailed guide (with screenshots)
- Click the Distributions tab.
- In the left menu, click Emails.

- Click Compose Email.

- Prepare the email by filling in all the fields.
-
To: Click Select Contacts. Select the contact list you created earlier.

-
When: You can set the email to send immediately or set a delay in the span of hours or days.

-
Message: Compose the message directly in this field, or click Load Message to select a saved message from the library. To save a message for future use, click Save As.

-
Show Advanced Options: This option allows you to set an expiration date for the survey link. By default, Link Type is set to Individual, which means that each respondent receives a unique URL to the survey.

- Once the email is ready:
-
Send Preview Email: Send yourself a preview email.
-
Send in [x] hours / days: Schedule the email.
